This is going to be a process-y post.
I’ve been using paper pieced patterns for quilts and other projects for about 2 years now. My first foray into the field was a tangram baby quilt and my most recent one was finished in March. We’ll get to it eventually. While I sometimes use or buy pre-made patterns, there’s something extra special about coming up with my own. I like solving problems, coming up with solutions, and the whole process for making a pattern is just one big, tricky equation.
I start with a drawing
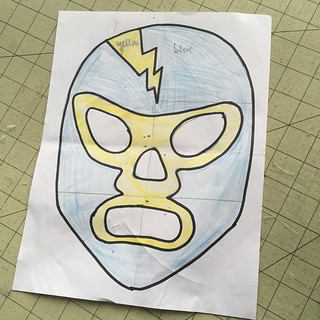
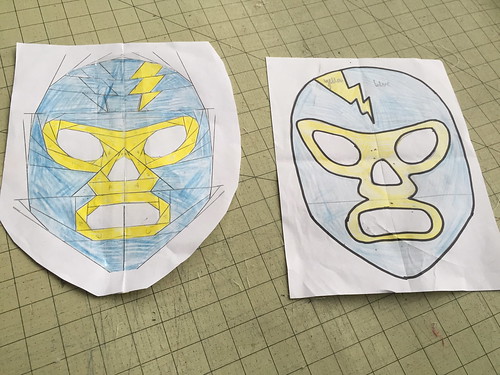
Then I use a ruler to turn all my curved lines into straight ones. Dividing the face into distinct sections, based on color and shape, I continue the lines to their termination point.
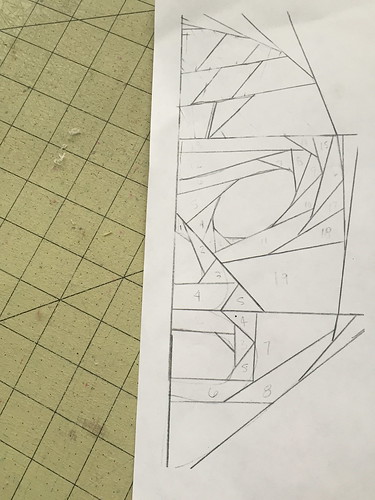
Since a mask is the kind of thing that benefits from exact vertical symmetry I chose to only make a pattern for half the face. Later, I’ll scan it into the computer and flip it on a vertical axis to get both halves of the face.
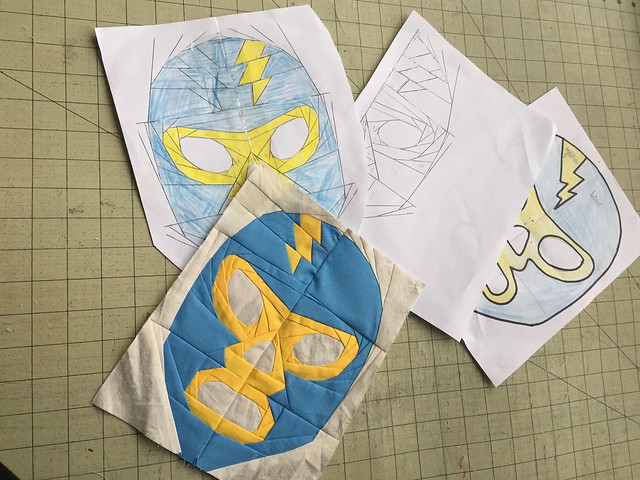
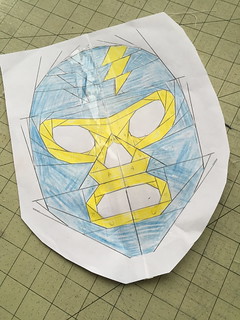
Once the pattern has been scanned and flipped, I print out both halves, tape them together and color again. Just to make sure I like how it looks. This is when I compare it to my original drawing.
Now all that’s left to do is make a test block. I cut the pattern into sections and have at it. I love paper piecing because it’s literally just sewing inside the lines. Paper pieced patterns produce mirrored image, so even though the lightening bolt was on the right side of the pattern, it’s on the left side of the finished mask. This doesn’t matter for any of my patterns, but it makes letters super tricky. Which is why I buy those patterns.
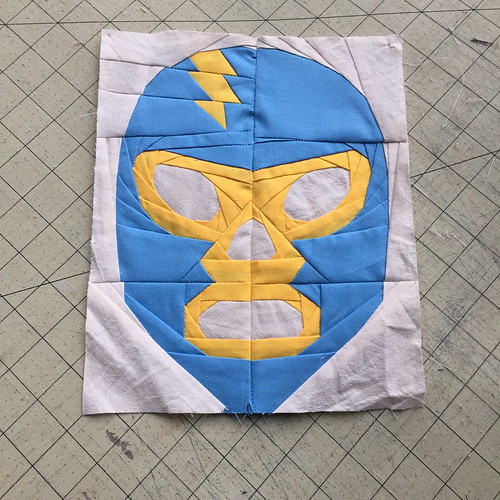
Seeing the block all finished, I can pick out the inefficiencies and go back to the original pattern and make adjustments.
The image may change from pattern to pattern, but the process remains the same.